Caregiver Training›Client Check-in/out (Adult Day Health Care)

Client Check-in/out (Adult Day Health Care)

Overview

Client check-in is managed via the Adult Day Health Care module. This article covers the caregiver walkthrough of the client check-in and check-out process, including:

  • Log-in
  • Client Check-in
  • Client Check-out

Log-in

To log in and access the client kiosk:

  1. Go to ankota.net
  2. Enter your user ID, password, and organization name (as assigned by your administrator)
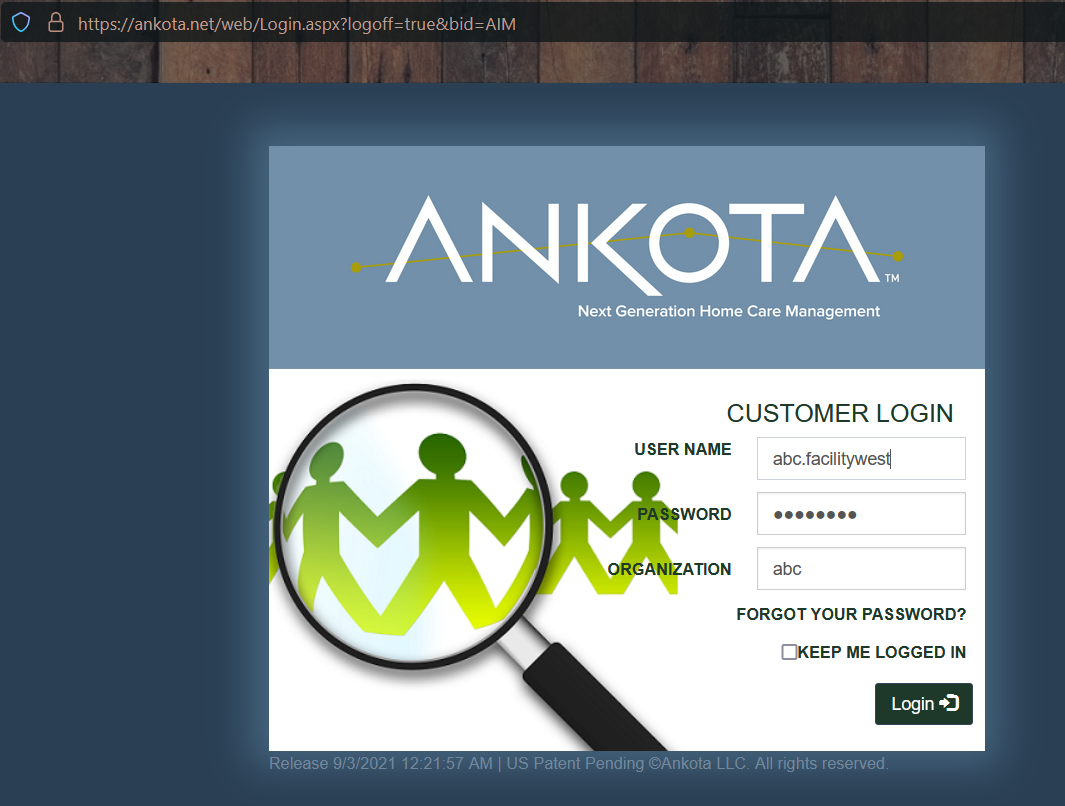
Ankota login page displaying the Customer Login form with fields for User Name (showing "abc.facilitywest"), Password (masked), and Organization ("abc"), along with a "Forgot Your Password?" link, "Keep Me Logged In" checkbox, and a green "Login" button.

Client Check-in

To access the client check-in board:

  1. Log in
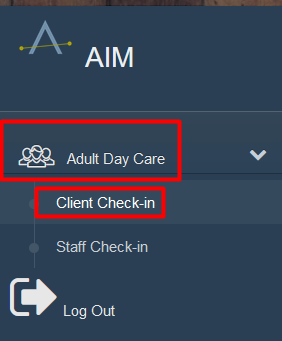
  2. Click Adult Day Care
  3. Click Client Check-in

The AIM application home screen showing a dropdown menu with "Adult Day Care" selected (highlighted in red), displaying check-in options including "Client Check-in" and "Staff Check-in," along with a "Log Out" button at the bottom.

Next, select the Facility from the drop-down list.
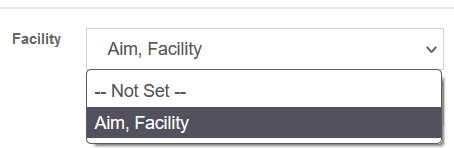
The Facility dropdown menu is open showing three options: "-- Not Set --", "Aim, Facility" (highlighted in gray), and the currently selected value "Aim, Facility" displayed in the field above.

This will bring you to the client check-in.
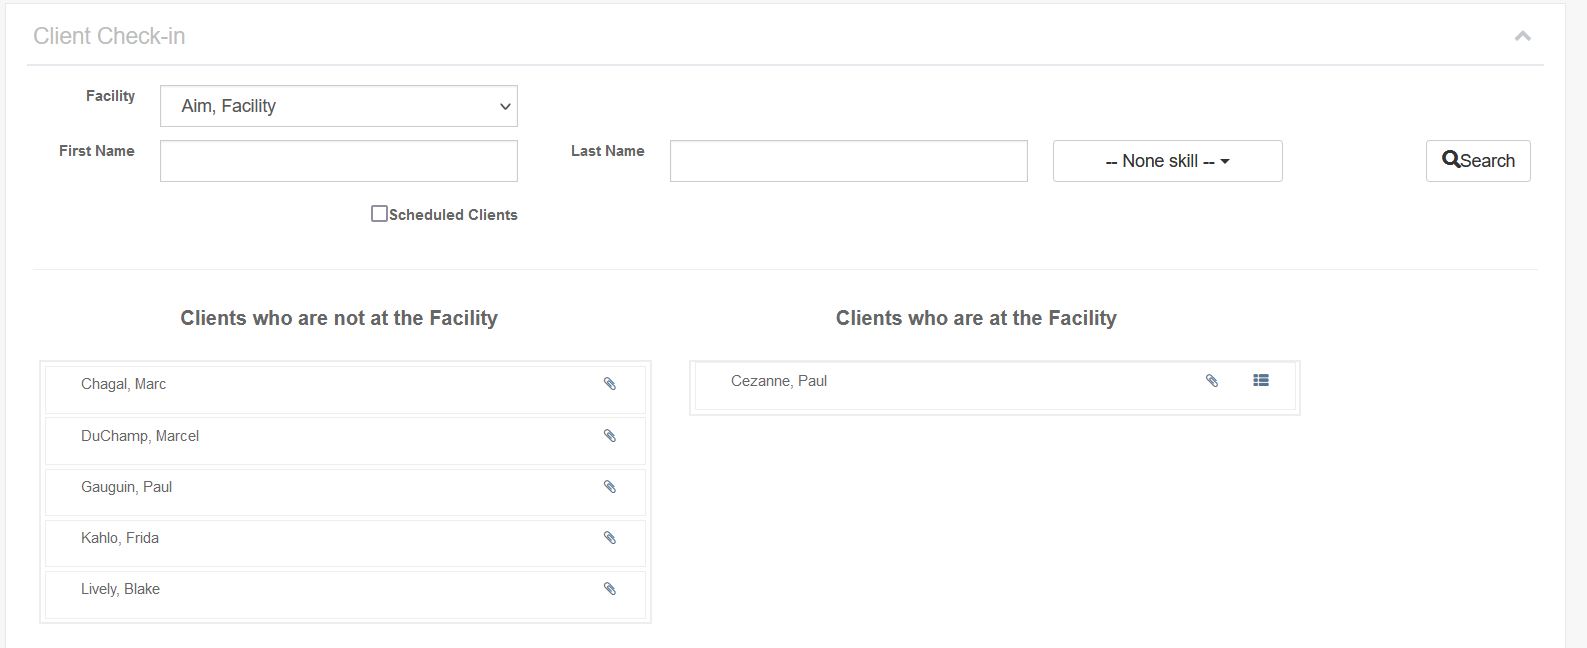
The Client Check-in screen displays a facility selector set to "Aim, Facility" with input fields for First Name and Last Name, a skill filter dropdown, and a Search button. Below are two sections: "Clients who are not at the Facility" (listing Chagal Marc, DuChamp Marcel, Gauguin Paul, Kahlo Frida, and Lively Blake) and "Clients who are at the Facility" (showing Cezanne Paul), with a "Scheduled Clients" checkbox above.

At this location, there are two choices:

  • If the organization does NOT pre-schedule, drag and drop clients from the left column to the right column to clock in, or click the Check In button.
  • If the organization pre-schedules:
    1. Check the box for Scheduled Clients
    2. Click Search
    3. Drag and drop the scheduled client from the left column to the right column to check in, or click the Check In button.
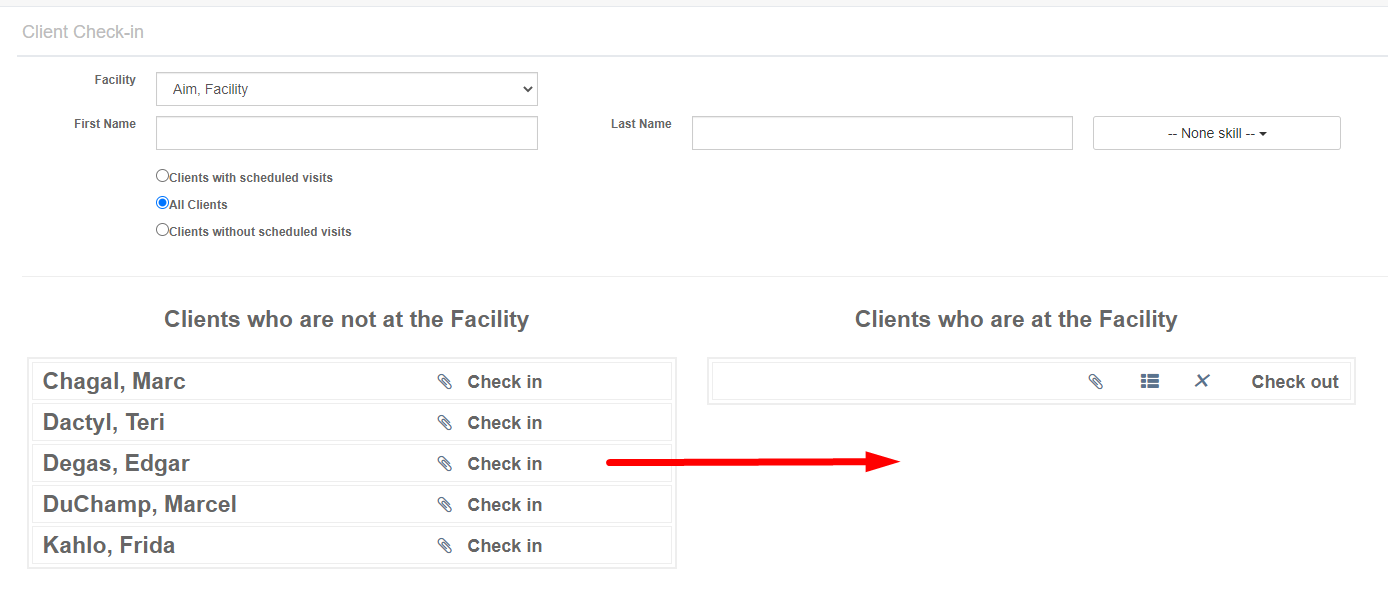
The Client Check-in page displays a facility selection dropdown set to "Aim. Facility" with filter options for First Name, Last Name, and skill level, along with radio buttons to filter by client visit status. The page is split into two sections: "Clients who are not at the Facility" on the left showing a list of clients with "Check in" buttons, and "Clients who are at the Facility" on the right with "Check out" buttons.

Note: Moving the client from left to right creates a visit that is visible by administrators on the schedule board. If a client is accidentally checked in, click the X next to the client's name to cancel the visit.

The "Clients who are at the Facility" screen displays a checked-in client named "Dactyl, Teri" with options to view details, switch view modes, or check them out using the red X button. A "Cancel Check-in" dialog box is open on the right side asking for confirmation with YES and NO buttons.

Client Signature

If the organization requires client signatures at check-in and check-out, a signature field will pop up as the client is checked in and out. Sign and save as needed.

Client Authorization

If the organization requires client authorization management at check-in, enter the hours and minutes associated with the authorization upon checking the client in. (This field will not appear if the organization does not use authorizations.)
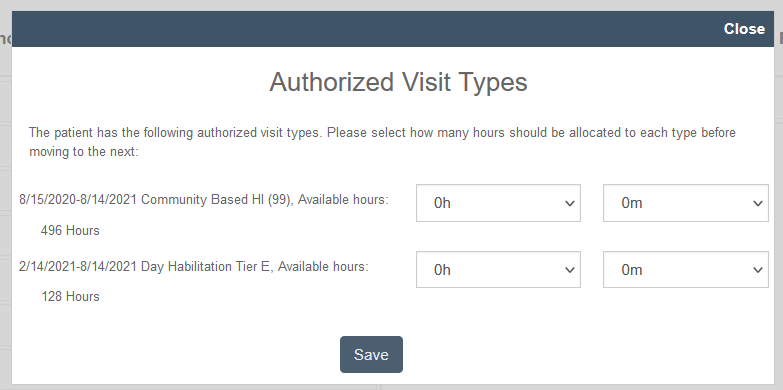
The Authorized Visit Types dialog shows a patient's allocated visit types with date ranges and available hours, including Community Based HI (99) with 496 available hours and Day Habiliation Tier E with 128 available hours, with dropdown menus to assign hours and minutes to each type before saving.

Client Check-out

Client check-out is performed in the same location as client check-in. Select the client from the right-hand column and move them to the left.
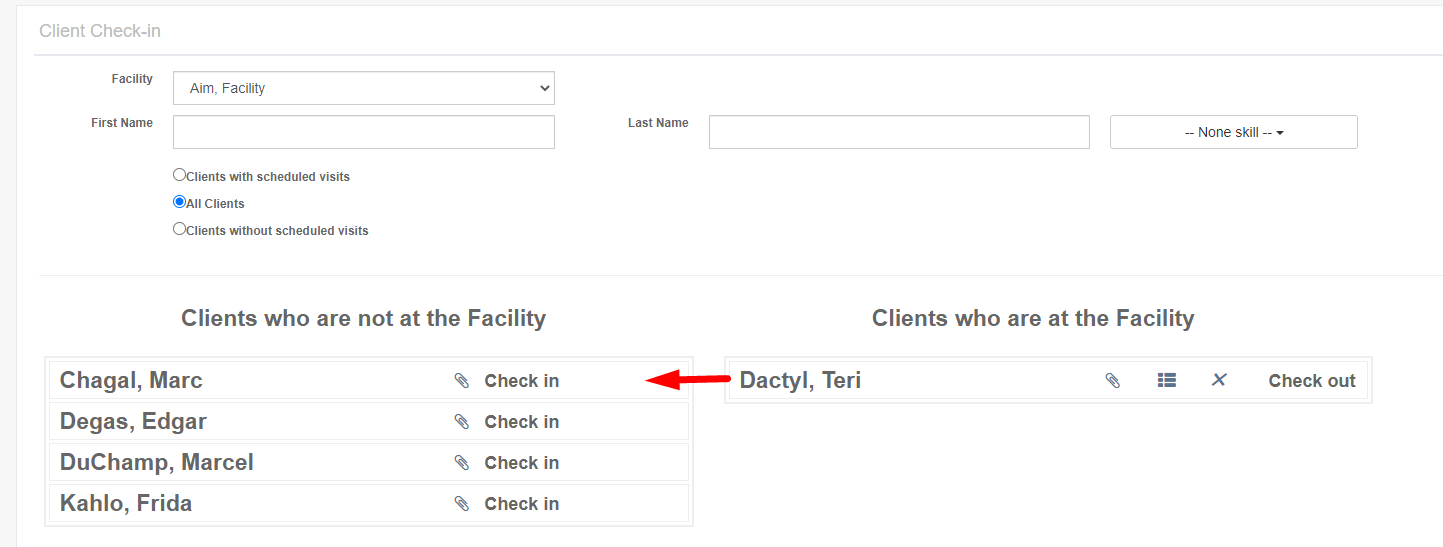
Client Check-in page showing a facility selector (Aim, Facility), First Name and Last Name fields, and filter options for client scheduling status. The main display splits into two sections: "Clients who are not at the Facility" (left) listing names with "Check in" buttons, and "Clients who are at the Facility" (right) with a highlighted example showing "Dactyl, Teri" with a "Check out" button and associated action icons.

Was this article helpful?
On this page