Mobile App›Settings in the Ankota NextGen Mobile App

Settings in the Ankota NextGen Mobile App

Settings

Several items are made available under Settings, including:
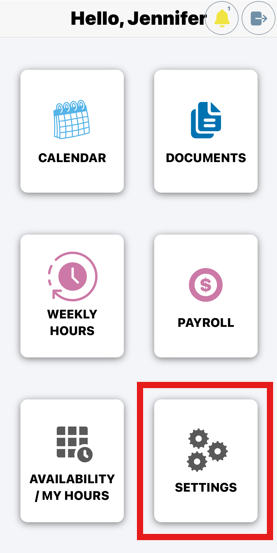
The main menu screen displays six tile options for the Ankota NextGen Mobile App, including Calendar, Documents, Weekly Hours, Payroll, Availability/My Hours, and Settings, with the Settings tile highlighted by a red border indicating it is the current selection.

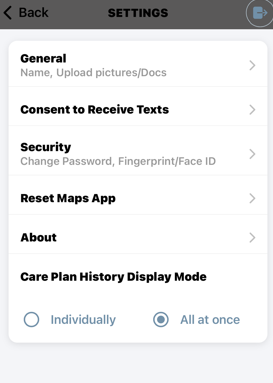
The Settings screen displays various configuration options including General (for name and document uploads), Consent to Receive Texts, Security (password and biometric settings), Reset Maps App, About, and Care Plan History Display Mode with toggles for "Individually" and "All at once" viewing options.

General Functionality

Caregivers can view their profile name and conveniently upload photos and documents in this section
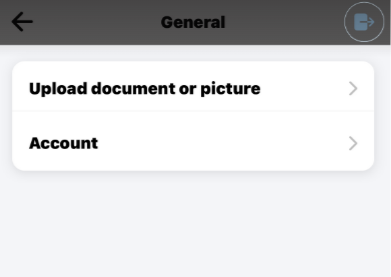
The General settings screen displays two menu options: "Upload document or picture" and "Account," each with a right-facing chevron indicating they are expandable sections or links to additional settings.

  • To upload documents or images, choose the destination where you'd like them to appear

  • After selecting your document, tap "Upload Photo/Document." 

  • Choose whether you'd like to use your camera or select an image from your camera roll. If prompted, be sure to grant camera access to continue.

  • Once you've taken a photo, you’ll have the option to retake it or keep it if you're happy with the result.
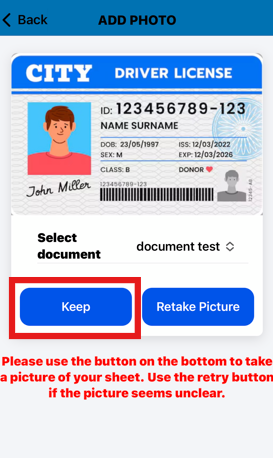
The "Add Photo" screen displays a sample driver's license document with a photo preview and identifying information, with "Keep" and "Retake Picture" buttons below to confirm or recapture the document image. Red instructional text at the bottom directs users to use the bottom button to photograph their document and retry if the image is unclear.

Most Administrators will contact you through mobile messaging, so we strongly recommend enabling consent to receive messages on your device.

Messaging will only work if you enter a mobile number capable of receiving text messages.

When you first download and open the app, you’ll receive a prompt asking for your phone number (if it isn’t already listed in your caregiver profile).

• Enter your mobile phone number and email address.

• Check the box to consent to receiving messages and emails.

You can also provide or update your consent at any time:

  1. Open the app and go to Settings.

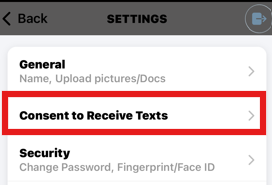
  2. Select Consent to Receive Texts.

The Settings screen shows a General section with options for "Name, Upload pictures/Docs" and a Security section for "Change Password, Fingerprint/Face ID," with a highlighted red box around the "Consent to Receive Texts" option in between.

3. Enter your mobile phone number and email address, or update them if needed
A settings section displaying contact information with fields for Email (email@domain.com) and Mobile Phone (555 123 4567).

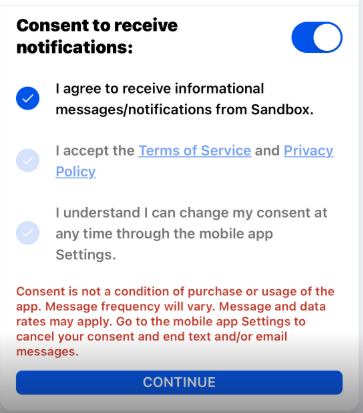
  1. Slide the toggle to give consent and agree to the terms and conditions.

  2. Save your changes.

The notification consent screen displays a toggle switch set to "on" at the top, with three checkbox options below: agreement to receive informational messages from Sandbox (checked), acceptance of Terms of Service and Privacy Policy (unchecked), and understanding that consent can be changed in mobile app Settings (unchecked). A blue "CONTINUE" button appears at the bottom, with a red disclaimer stating that consent is not a condition of purchase and directing users to Settings to manage message frequency and cancel communications.

Security Functionality

Use this section to manage your Ankota Caregiver NextGen login settings, including Face ID setup and password changes.
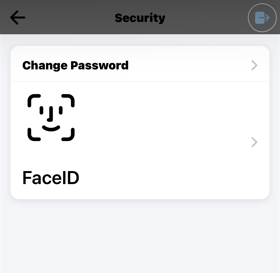
The Security settings page displaying two authentication options: "Change Password" at the top with a right-facing arrow, and "FaceID" below it with an accompanying face recognition icon.

For enhanced security, we recommend changing your password every 90 days. To do so, navigate to 'Change Password,' input your current credentials, and set a new password.
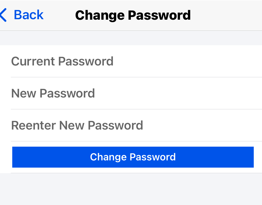
The Change Password screen displays three input fields: Current Password, New Password, and Reenter New Password, with a blue "Change Password" button at the bottom to confirm the password update.

To make logging in more convenient, you can enable Face ID. To set it up, tap the Face ID icon and position your phone so it clearly sees your face.
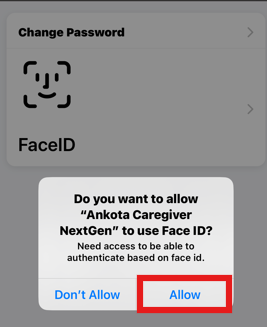
The Settings screen displays a "Change Password" option at the top and a "FaceID" section below it, with a modal dialog asking for permission to allow "Ankota Caregiver NextGen" to use Face ID for authentication. The dialog offers two buttons: "Don't Allow" and "Allow" (highlighted in red).

Reset Maps App

The Reset Maps will reset the default map. In iPhones there may be an option for Bing, Google or Apple Maps. In Androids: Waze or Google Maps. After selecting Reset Maps, the next time the caregiver logs in; the navigator will choose the other option for Maps. 

About Information

This is to see your software version.
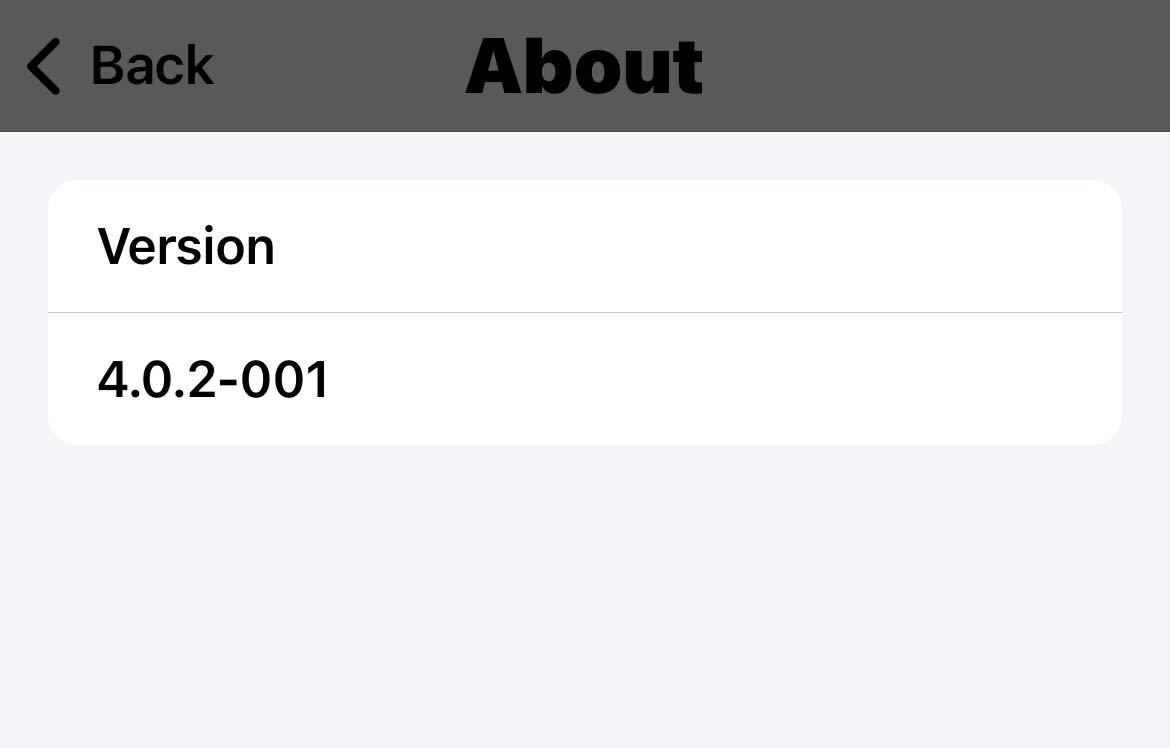
The About page displays the application version information, showing Version 4.0.2-001, with a Back button in the top-left corner to return to the previous screen.

Care Plan History Display Mode

If the History feature is enabled, you can choose to view all entries at once or display them one at a time. This feature is especially useful for coordinating care teams, as it provides insight into what the previous caregiver worked on.

Example of a History entry: Worked with Michael on drafting his school essay and assisted with math homework. He’ll need help refining the essay tomorrow and preparing for his math quiz on Friday.
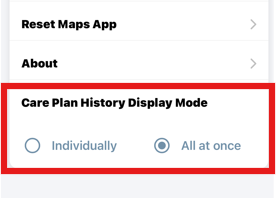
The Care Plan History Display Mode setting offers two radio button options: "Individually" (unselected) and "All at once" (selected), allowing users to choose how care plan history is displayed in the Ankota NextGen Mobile App.

Was this article helpful?
On this page